how-to
Hosting your own reCAPTCHA for your static form
A short guide on how to set up reCAPTCHA for use on your static forms on your site
Why use a captcha?
Captchas were invented to prevent bots or machines from quickly filling in forms on the internet. Without a captcha somewhere in your submission flow, it’s very easy for bots and spammers to send your marketing messages. Thus captchas were born. A way to distinguish humans from machines. Of course it does not prevent all kinds of spamming, and some bots can even solve certain captchas. But overall it greatly reduces the amount of spam your form will receive.
Why reCAPTCHA?
There are a number of captcha techniques available that work quite well. reCAPTCHA is Google’s advanced captcha system. It has some advantages and disadvantages over other captcha systems. In general it’s highly effective and currently the only captcha form we support for our forms.
Why host your reCAPTCHA?
By default, your Un-static Form is using our servers to host your reCAPTCHA. This is great for most use cases.
There are some use cases where we require you to host your own reCAPTCHA. For instance when you are using an ajax form on your static site’s form.
Steps to set up reCAPTCHA hosting
The most important steps for hosting your own reCAPTCHA is by setting it up correctly within Google’s systems. After that it’s only a single setting on your form to enable hosting your own captcha!
Let’s walk through the steps to set this up:
Step 1. Make sure your form endpoint is linked to an Un-static account, or link it now from your forms admin page.
Step 2. If you don’t have a secret yet, generate a new reCAPTCHA secret from Google reCAPTCHA
- Step 2a. Click the plus at the top right of the Admin Console

- Step 2b. Select reCAPTCHA v2
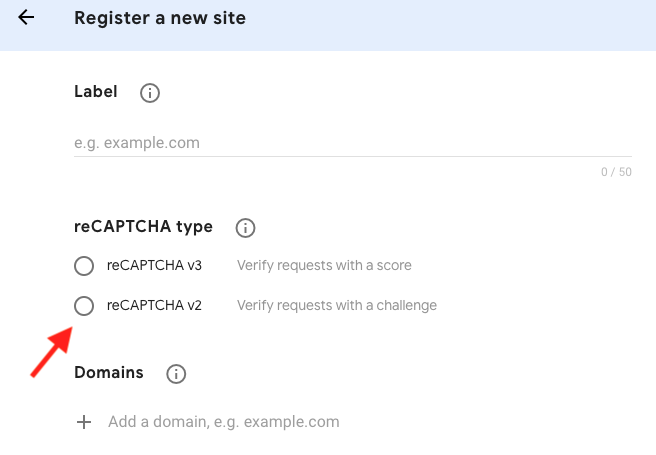
- Step 2c. Add your own domain of your site
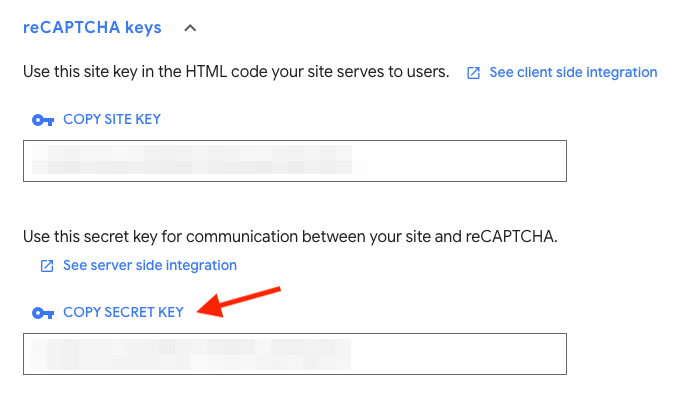
Step 3. Copy your reCAPTCHA Secret Key from the site’s Settings
Step 4. In you form’s admin page, set your site’s reCAPTCHA secret (or disable reCAPTCHA verification altogether).
Step 5. Add the reCAPTCHA field to your page or form
<div class="form-group row">
  <div class="col-sm-9">
    <div class="g-recaptcha" data-sitekey="YOUR_RECAPTCHA_SITE_KEY_HERE">
    </div>
  </div>
</div>
Step 6. Include the reCAPTCHA javascript file in your header just before </head>
<script src="https://www.google.com/recaptcha/api.js" async defer></script>And that should be it.
Let us know if you run into any issues!